
Stepping into the fantastical world of Old School RuneScape (OSRS)? Don’t fret because you’re on the right page! As you delve deeper into the OSRS, you’ll find yourself pitted against the dreaded Nightmare of Ashihama. This guide is brimming with valuable insights and useful tips that will empower you to vanquish this fearsome monstrosity.
It’s not a walk in the park, but with these strategies at your disposal, your journey into the Nightmare will certainly be less terrifying. One thing’s for sure – you’re in for an epic gaming adventure. Prepare to be enthralled!
Understanding the Nightmare of Ashihama
The Nightmare of Ashihama, commonly known as simply “The Nightmare”, is a profoundly challenging boss in Old School Runescape that requires strategy, skill, and teamwork. Your journey to conquer this formidable boss will push your limits, test your adaptability, and leave you on the edge of your seat. Let’s dive into the nightmare together.
The Basics of the Nightmare
The Nightmare resides within the Sisterhood Sanctuary, beneath the town of Slepe in Morytania. A grotesque and fearsome creature, The Nightmare will challenge you with its devastating attacks, which can be almost unbearable if not adequately prepared. Identifying its combat mechanics will give you the upper hand, ensuring your survival skills are matchless.
The story behind Ashihama’s Nightmare
Legend has it that The Nightmare was created from the suffering of Ashihama, a native of an eastern land. Castaway by her people, she sought refuge in Morytania, only to be captured and tormented by a Sisterhood of Vampyre zealots. The Nightmare was born from this torment, attracting adventurers and treasure seekers alike as they dared to challenge its power.
An overview of the Nightmare’s combat mechanics
The Nightmare employs a unique combination of physical and magical attacks with devastating effects. Keep an eye on the boss, as it will often telegraph its next attack. Remember, your priority is to avoid heavy damage while delivering your own.
Required Gear and Equipment
Every great warrior needs an arsenal. Your gear and equipment can make or break your victory against The Nightmare.
Best gear for each combat class
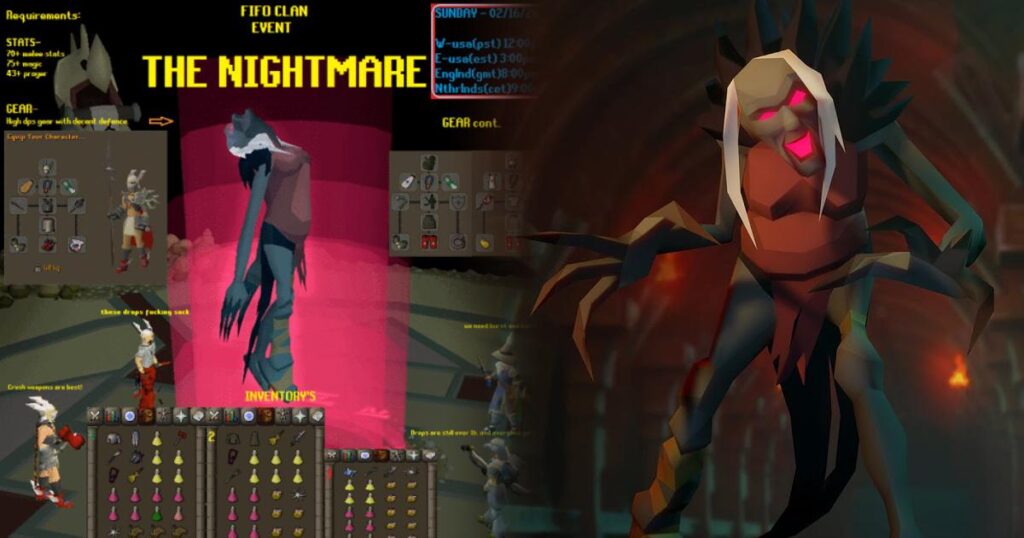
Your armor should be the highest defensive gear you possess. For melee-users, bandos or justiciar armor, along with a scythe of virtue, is perfect. If you’re a mage, we recommend ancestral robes paired with a kodai wand. Rangers should opt for Armadyl gear and a twisted bow.
Must-have inventory items for facing the Nightmare
Regardless of your combat class, you’ll want to fill your inventory with the best food available, like sharks or anglerfish. You also want a good mix of recovery potions, ranging from prayer potion to Sanfew serum and the ever-rewarding divine bastion and battlemage potions.
Advice on item setup depending on team size
Your item arrangement varies depending on whether you go alone or with a team. In duo or group battles, you’ll need space for shared potions, while a solo player will find room for additional healing and stat-boosting necessities.
Assembling Your Team
Choosing your teammates wisely is crucial in conquering The Nightmare. Each team member plays a vital role – working together is your path to success.
Ideal team size for the Nightmare
Most successful Nightmare runs involve teams of four to five players, balancing damage output and survivability. Remember that mission success is tied to your team’s collective skill, not just sheer numbers.
Roles and responsibilities within the team
Clear roles in a team are essential to efficient communication and success. The roles differ with tanking duty, damage dealing, and calling out The Nightmare’s attacks to keep the team alert and coordinated.
Communication tips for effective team synchrony
Effective communication is vital in coordinating team movements, predicting the Nightmare’s attacks, and pooling resources efficiently. Call out movement warnings and watch each other’s health.
Phase One: Preparation
As the saying goes, ‘Failure to prepare is preparing to fail’. The same applies when facing The Nightmare.
Understanding Nightmare’s special attacks
The Nightmare has pattern-based special attacks that are anticipated and avoided. With each phase, her attacks become more powerful – take the time to learn and understand these could save your life.
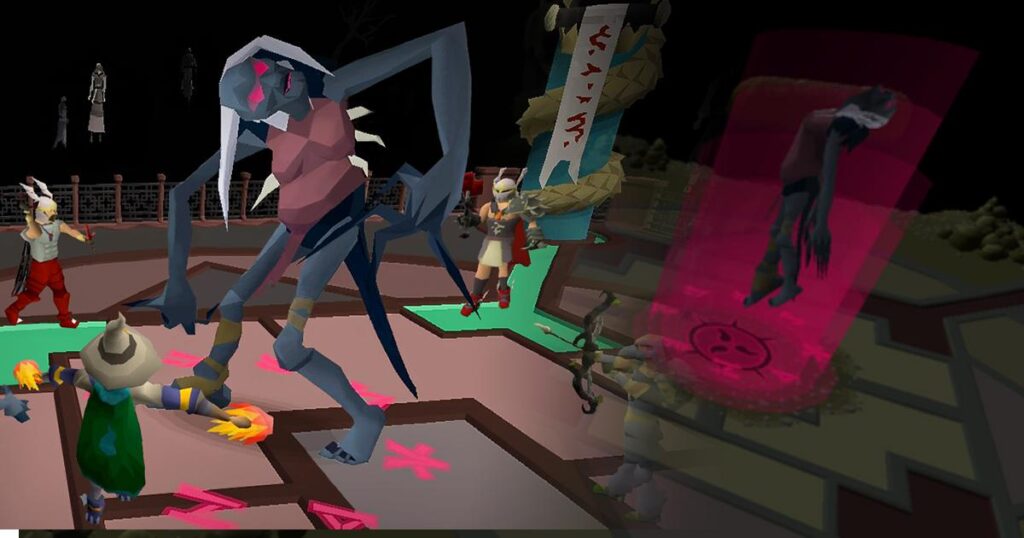
Optimal player positioning
Smart positioning can reduce the amount of damage taken. Sidestep or position yourself behind The Nightmare, especially during the husk phase. Keep communal locations in mind to share potions.
How to manage Nightmare’s health pool
Keeping a close eye on The Nightmare’s health pool will allow you to anticipate its next phase. Split the duties among your team, some can focus on dealing with damage, others on healing, and others on controlling the Nightmare’s health.
Phase Two: The Sleepwalkers
The Nightmare creates these despicable creatures and can cause quite a bit of trouble if they are not handled correctly.
Defeating the Sleepwalkers
Sleepwalkers are susceptible to various attacks, so switching up your combat style can quickly bring them down. Remember, their health is directly related to The Nightmare’s, so killing one deals direct damage.
Effective damage control and dispersion techniques
Sharing the task of taking out sleepwalkers helps in effective damage control. One player distracts The Nightmare, while the others focus their attacks on the sleepwalkers. This strategy will ensure they are eliminated before causing too much trouble.
Timing strategy for avoiding casualties
Quick reaction times are essential to avoiding casualties. The sooner you can eliminate sleepwalkers, the less likely The Nightmare can use them to its advantage.
Phase Three: The Totems
The Totems can influence the battle heavily in The Nightmare’s favor if not dealt with promptly.
Locating and destroying the Totems
Totems emerge from the ground and need to be found and destroyed quickly. Use a hit-and-run strategy to avoid taking unnecessary damage.
The effective range of Totem’s influence
A Totem’s fires can reach players at a fair distance, making it a priority to dispatch before the damage will add up. Try to move away if a totem is about to explode, or the consequences can be devastating.
Survival tips for the Totem phase
Surviving the totem phase involves quick communication and team strategy. Spreading out to cover more ground and using area-of-effect attacks can help locate and eliminate totems quickly.
Phase Four: The Husks
Recognize them quickly and react correctly, and the Husks will be just a minor impediment in your path to greatness.
Recognizing and reacting to Husk’s summons
Husks are slow-moving, but getting hit by them would cause significant damage. When they spawn, move onto the next square and attack. Careful coordination ensures everyone knows where they are and how to avoid them.
Target priority during the Husk phase
Focus on dealing with Husks while watching Nightmare’s movements simultaneously. Your tank should keep Nightmare busy while the others tackle the Husks.
Husk Phase recovery tactics
During this phase, manage the damage, monitor the team’s health, and ensure everyone is ready to face the next stage. This requires quick thinking and tact.
Phase Five: Endgame
This is where the battle intensifies. Focus and act without hesitation!
Determining the Nightmare’s weakened state
As the Nightmare’s health diminishes, it becomes weaker. The key is to maintain pressure without losing focus, keeping up the damage output until the very end.
Dealing the Final blow and reducing endgame casualties
Acting swiftly can ensure a reduced number of endgame casualties. Target Nightmare quickly during its weakened state and strike hard. This is where all those high-damage attacks will come into play to deliver the final blow!
Navigating the Nightmare’s desperate last attacks
The Nightmare is most dangerous when it’s cornered. Expect ranged and magic-based attacks in rapid succession and move swiftly to avoid them.
Rewards and Loots
Bring down the beast, and the riches are endless.
Understanding the Nightmare’s drop table
The Nightmare’s drop table consists of various valuable items. Every participant gets a chance at nabbing something, but the one who deals the most damage has a higher chance.
Maximizing profits from the Nightmare
Profit comes from repeated runs and selling off the loot you acquire. Over time, you’ll find coveted items like the Inquisitor’s armor and the Nightmare Staff, which can fetch high prices in Grand Exchange.
Special drops and how to secure them
Rare items such as the Nightmare pet and Jar of Dreams are unique rewards for conquering the Nightmare. Remember, these are rare drops, so perseverance is key.
Common Mistakes and How to Avoid Them
Even experienced adventurers can slip up.
Common pitfalls during Nightmare fights
Mistiming dodges and losing track of The Nightmare’s health are common mistakes. Practice fights can help you become familiar with the combat mechanics.
How to recover after a mistake
A slip doesn’t have to mean defeat. Quickly assessing the damage, healing, and re-joining the fight can make all the difference.
Learning from previous runs and improving
Every fight sharpens your skill and knowledge. Review and learn from past fights, correct mistakes, and hit harder next time!
The Nightmare of Ashihama is a formidable foe. But, with the right gear, a solid team, and a good understanding of the battle dynamics, you can conquer it. Happy gaming, and may your rewards be plenty!